

Table of contents
- Step 1: Log in to MongoDB Atlas
- Step 2: Create a New Project
- Step 3: Add Members (Optional)
- Step 4: Build a Database
- Step 5: Choose a Region and Name for Your Deployment Cluster
- Step 6: Create Username and Password
- Step 7: Connect Your Application
- Step 8: Check the Driver and Version
- Step 9: Copy the Link
- Step 10: Install and Import Mongoose
- Step 11: Link Your Database
- Step 12: Test Your Connection
- Step 13: Security Considerations
- Conclusion
If you're building a MERN (MongoDB, Express, React, Node.js) stack application, you'll need a database to store and retrieve your data. MongoDB is a popular choice for database management in MERN applications due to its flexibility and scalability. In this tutorial, we'll guide you through the process of connecting MongoDB online with your MERN application.
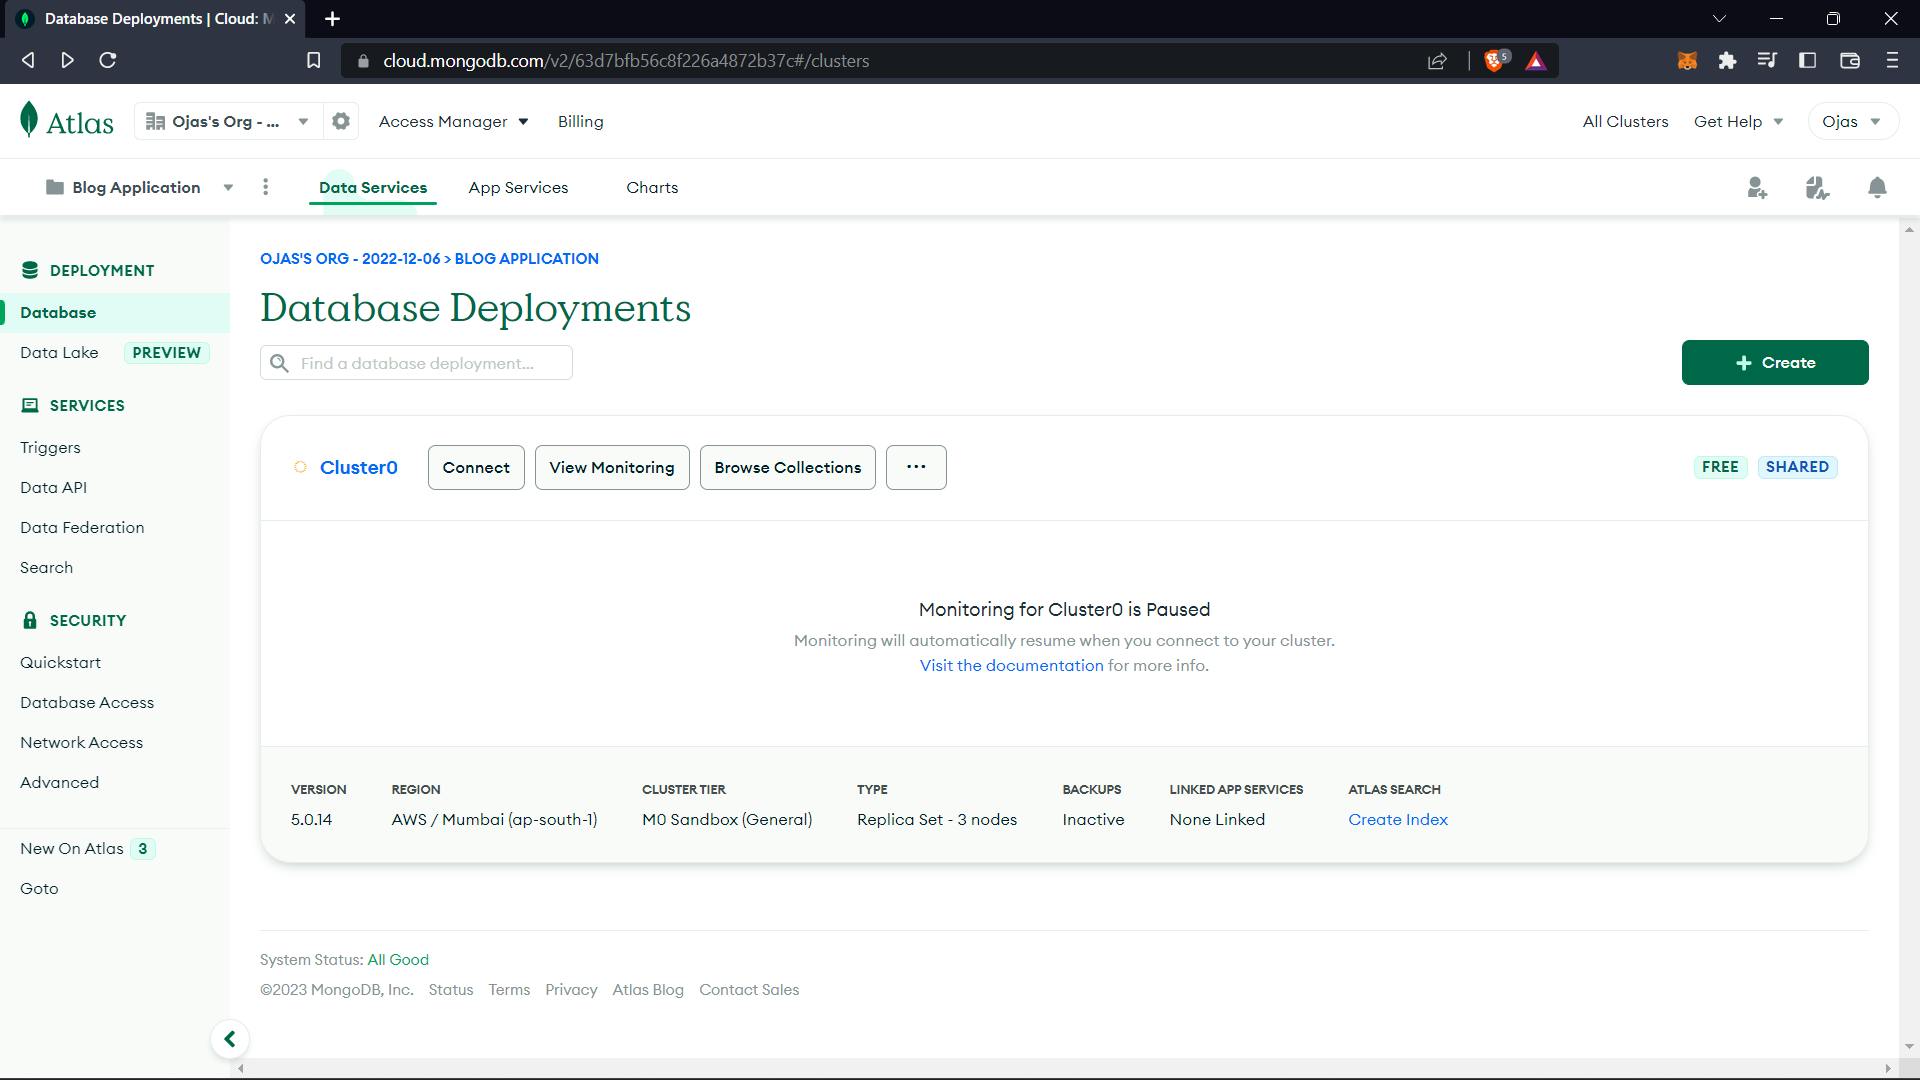
Step 1: Log in to MongoDB Atlas
The first step is to log in to MongoDB Atlas, a fully-managed cloud database service that provides an easy-to-use interface for managing your MongoDB clusters. Once you're logged in, you'll see a dashboard that shows your projects and clusters.
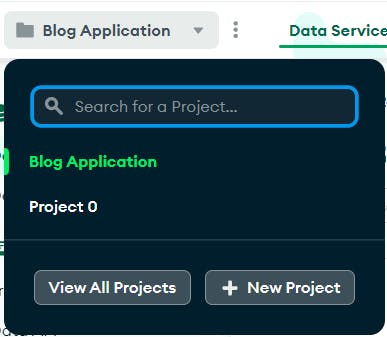
Step 2: Create a New Project
Click on the "Projects" option to create a new project. Give your project a name and click on "Next."
Step 3: Add Members (Optional)
If you want to add other team members to your project, you can do so in this step. Otherwise, just click on "Submit."
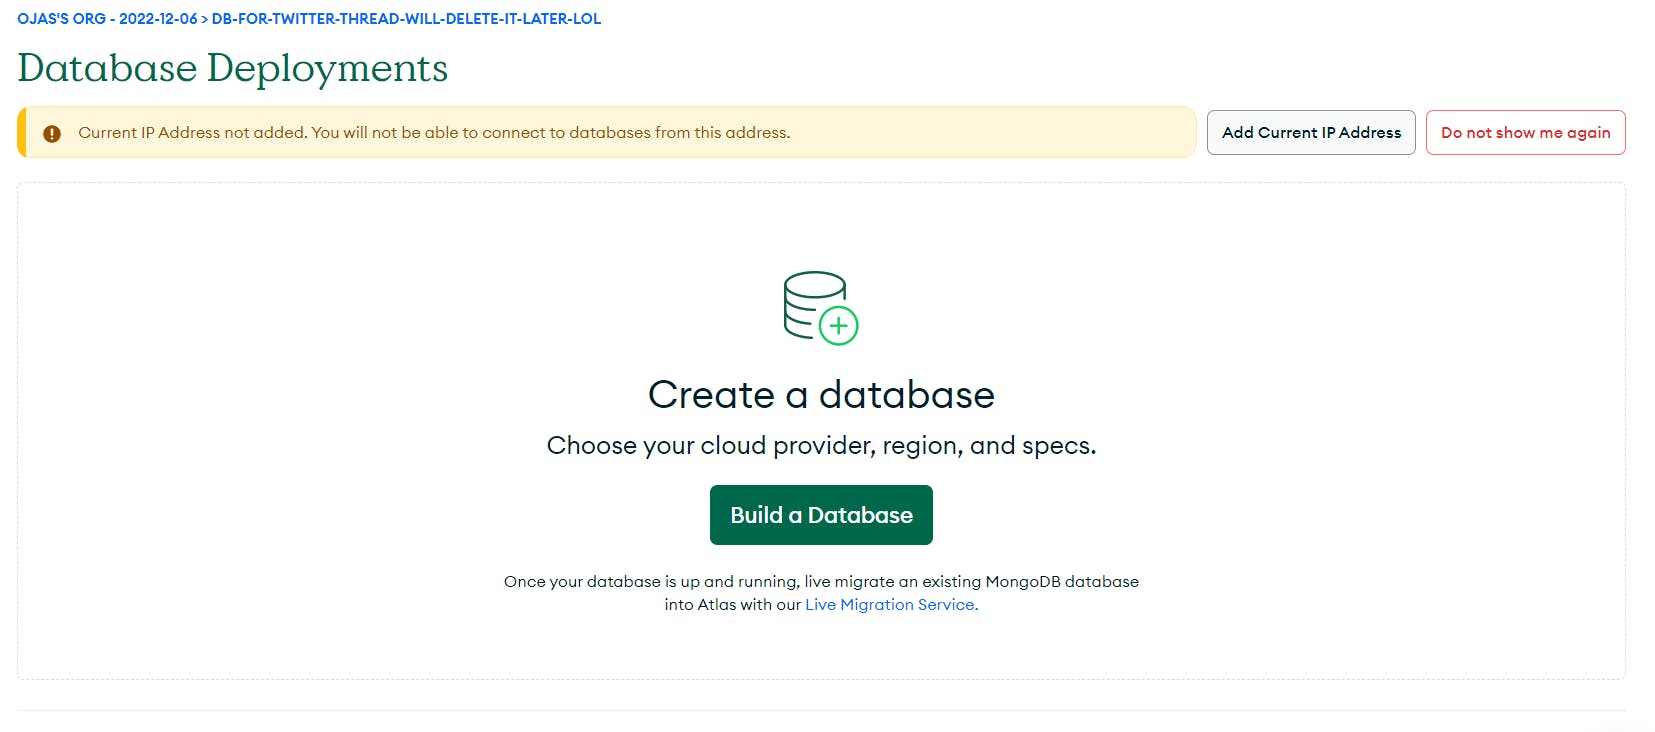
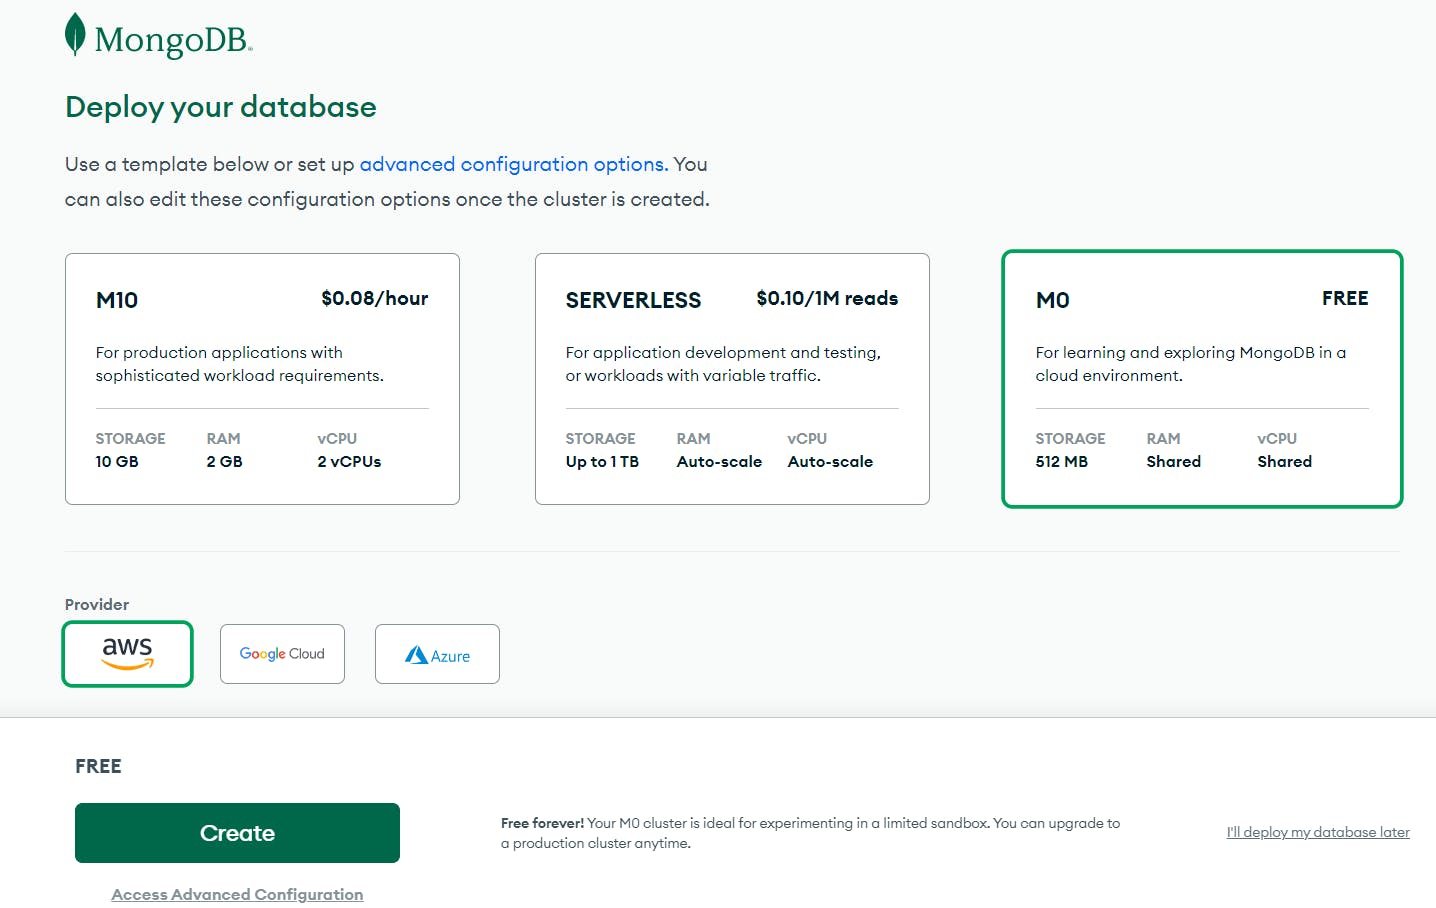
Step 4: Build a Database
Next, click on "Build a Database" in the deployments screen. Before that, make sure to verify your IP address. You'll then be prompted to choose your plan and provider. For this tutorial, we'll choose the free version and AWS, respectively.
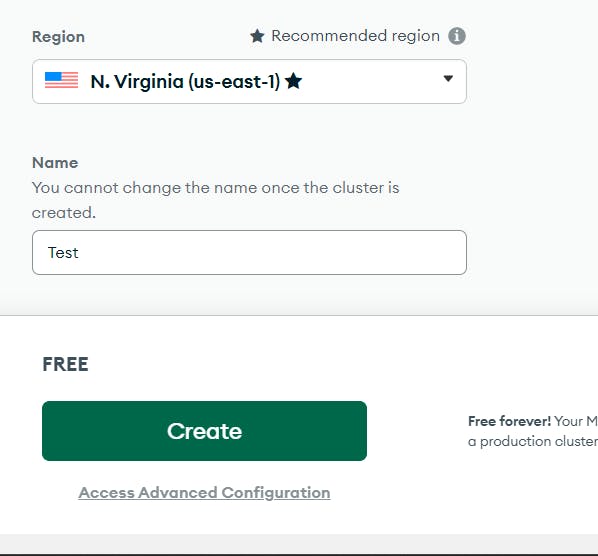
Step 5: Choose a Region and Name for Your Deployment Cluster
Choose a region and give a name to your deployment cluster. For this tutorial, we'll use the default region and call it "Test."
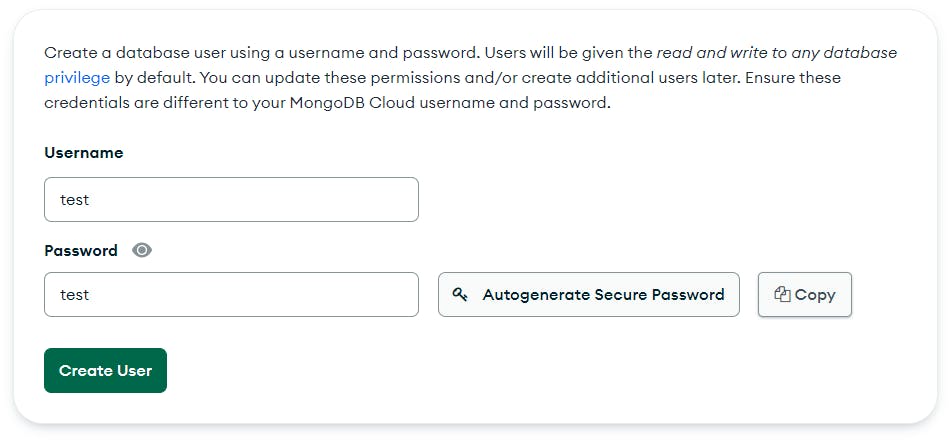
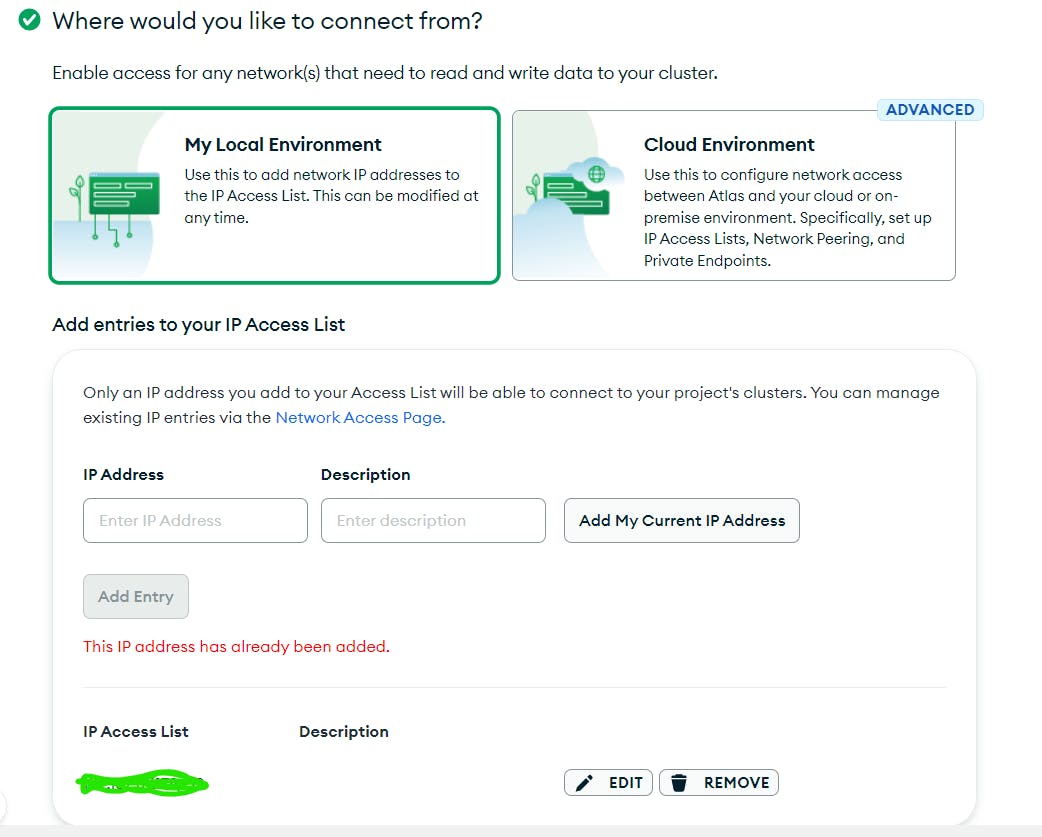
Step 6: Create Username and Password
After clicking on "Create," you'll be asked to create a username and password. Make sure to store them in a safe and secure place as they'll be needed in the future. Choose the options in the following questions, and as you've already verified your IP, it should already be added.
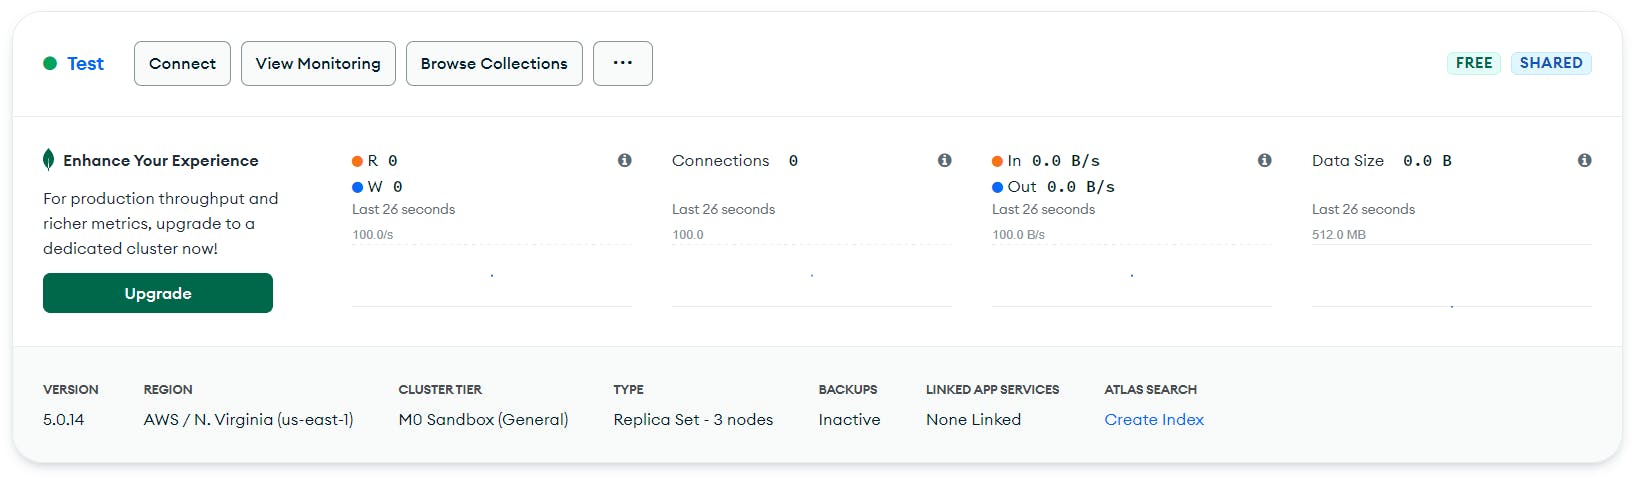
Step 7: Connect Your Application
After submitting, you'll have successfully created your online cluster. To connect it with your Node.js app, click on "Connect" in the window and then on "Connect Your Application."
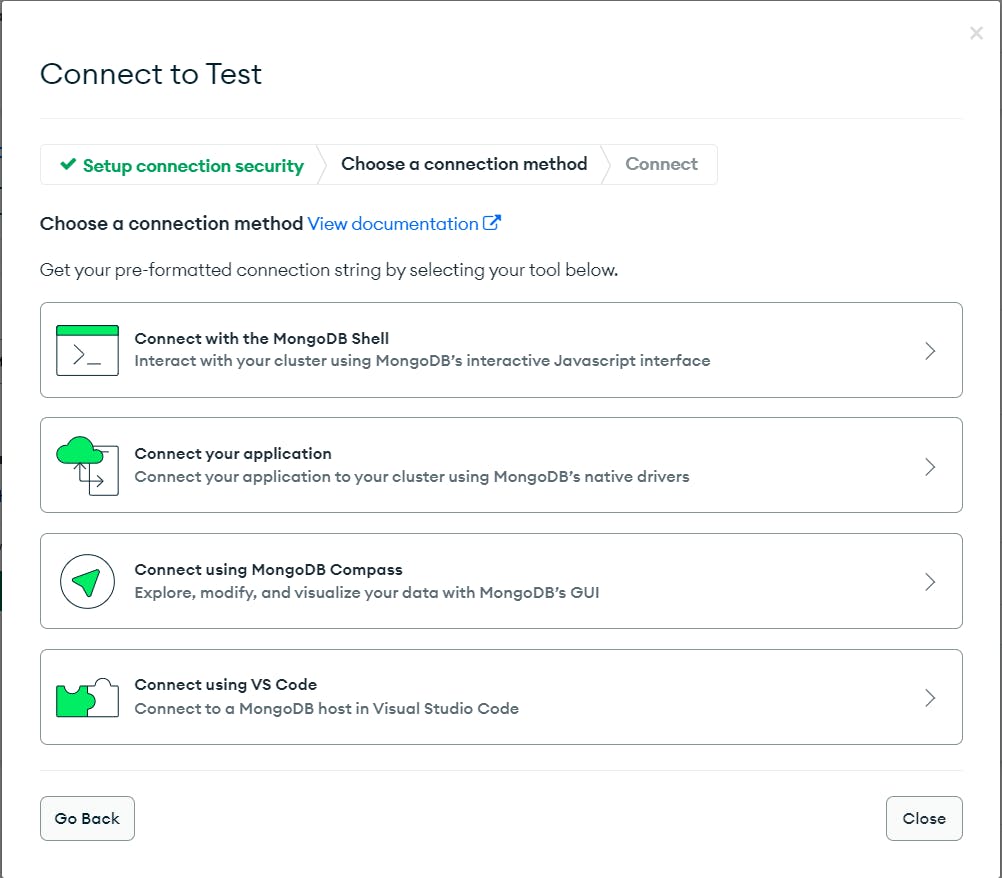
Step 8: Check the Driver and Version
Check the driver and its version in the following window. Keep it on the default settings.

Step 9: Copy the Link
Copy the link given below and add it to your app.js file in your Node.js file.
Step 10: Install and Import Mongoose
In your application, you'll need to install the mongoose library using "npm install mongoose" or yarn and import it into your app.js file.

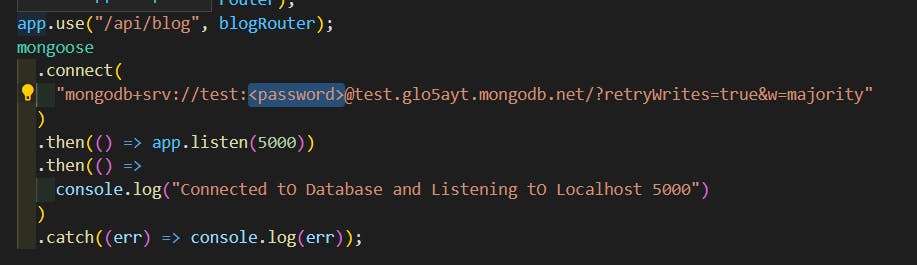
Step 11: Link Your Database
Use the following code to link your database. Remember to save your username and password and add the password in the section.
const mongoose = require('mongoose'); mongoose.connect('', { useNewUrlParser: true, useUnifiedTopology: true }) .then(() => console.log('Database Connected')) .catch(err => console.log(err));
Step 12: Test Your Connection
Test your connection to make sure everything is working correctly. If you see "Database Connected" in your console, then you've successfully connected your MongoDB online with your MERN application.
Step 13: Security Considerations
When uploading your code online, make sure to remove your password and mention it in your code or file to make your own database cluster and use it instead of yours.
Conclusion
In this tutorial, we've shown you how to connect MongoDB online with your MERN application. By following these steps, you'll be able to easily manage your database using MongoDB Atlas and build scalable, reliable MERN applications. Happy coding!
If you have any questions, feel free to follow me on Twitter, Linkedin, and Github.