


Have you ever thought about creating your cryptocurrency? With the rise of cryptocurrencies such as Bitcoin and Ethereum, many people are looking for ways to create their digital assets. One popular option is to create a token on the Ethereum blockchain using the ERC-20 standard.
ERC-20 is a set of rules that developers must follow to create a fungible token on the Ethereum blockchain. Fungible tokens are interchangeable assets, meaning that each unit of the token is identical to every other unit. This makes them ideal for use as a currency or other type of asset that needs to be easily divisible and transferable.
To create an ERC-20 token, you will need to write a smart contract that defines the token's properties and functions. We will be using Remix IDE to write this smart contract as it is easy to deploy and test the contract in Remix IDE. Here is a step-by-step guide to creating your own ERC-20 token:
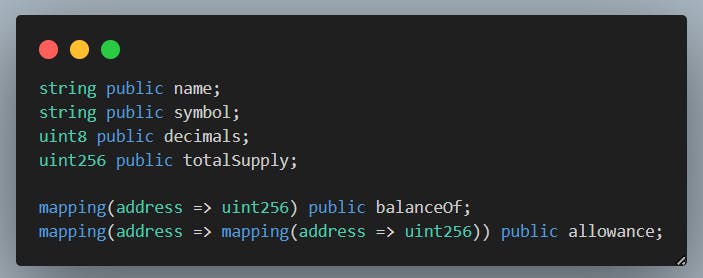
Define variables and mappings for the contract. The balanceOf mapping is used to keep track of how much of the token each address holds, while the allowance mapping is used to keep track of how much of the token an address has allowed another address to spend.
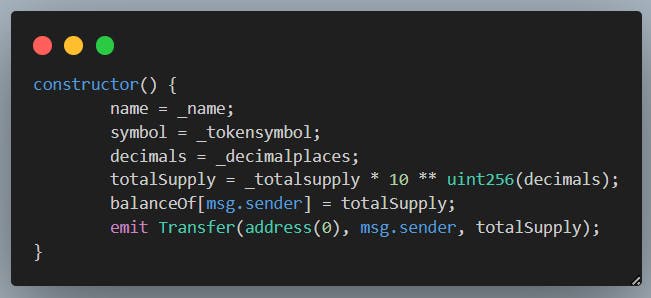
Define the constructor function to initialize the state of the token variables. Here, you will define the name, symbol, decimal places, and total supply of the token. Here, the name is the name of the token for example ojucoin, the symbol is a short 3 characters word that uniquely defines any token. For example for ojucoin, it can be OJU. Decimal defines the decimal place till where the value of the token will go. Total supply is the total number of tokens we are initially supplying. And the last two lines define, the initial balance in the balanceOf mapping is coming from address(0).
Define events for the contract. Events are used to notify external applications of important occurrences within the contract. The Transfer event is emitted when tokens are transferred from one address to another, while the Approve event is emitted when an address approves another address to spend a certain amount of tokens.

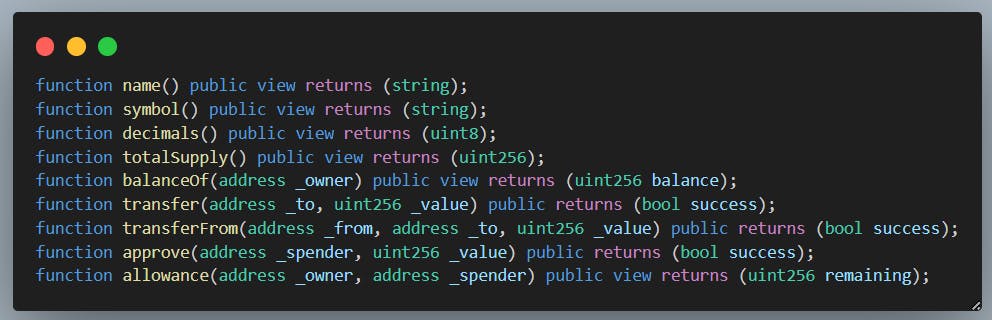
Define functions for the contract. There are a number of functions to be added to the contract.
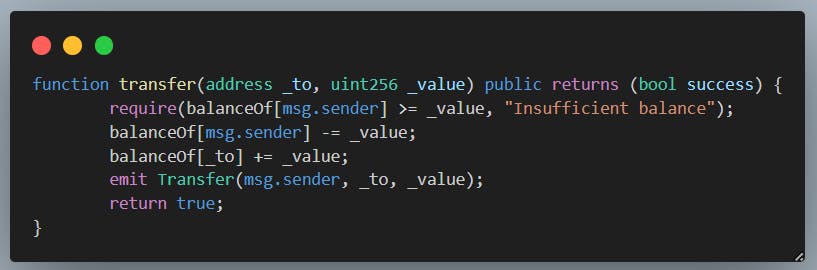
The transfer() function deducts a certain amount of tokens from the sender's address and transfers them to the receiver's address.
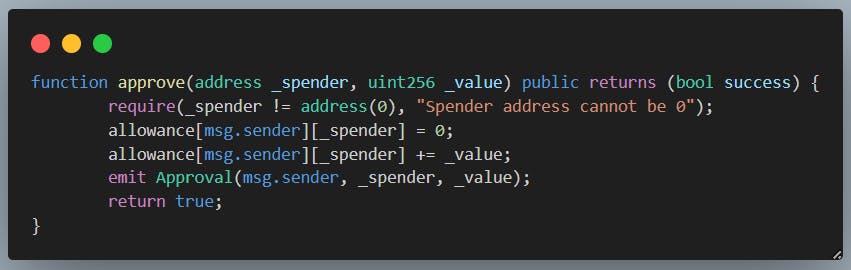
The approve() function is used to grant permission for another account to spend a certain amount of tokens from the sender's account.
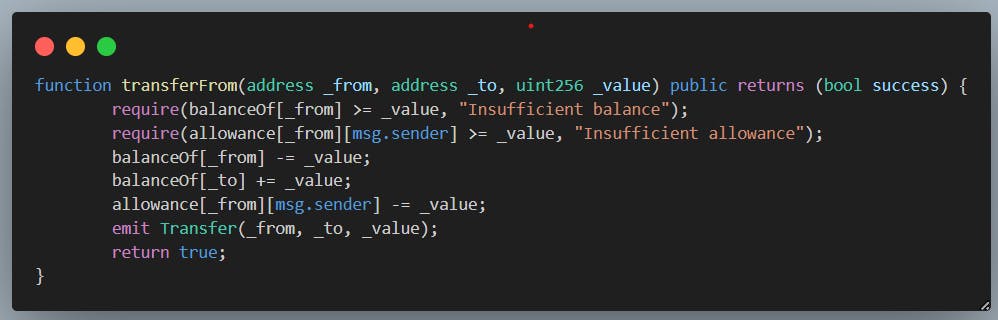
The transferFrom() function is used to deduct tokens from the sender's account and add them to the spender's account.
Deploy and test the smart contract. You can test the transfer function by sending tokens to a specific address and verifying the transaction on etherscan.
Creating your own ERC-20 token can be a fun and rewarding experience. It allows you to create a digital asset that can be used for a variety of purposes, from creating your cryptocurrency to creating a reward program for your business. By following the steps outlined above, you can create your own ERC-20 token and join the growing world of cryptocurrencies.